
-A tutorial by Flora
Introduction
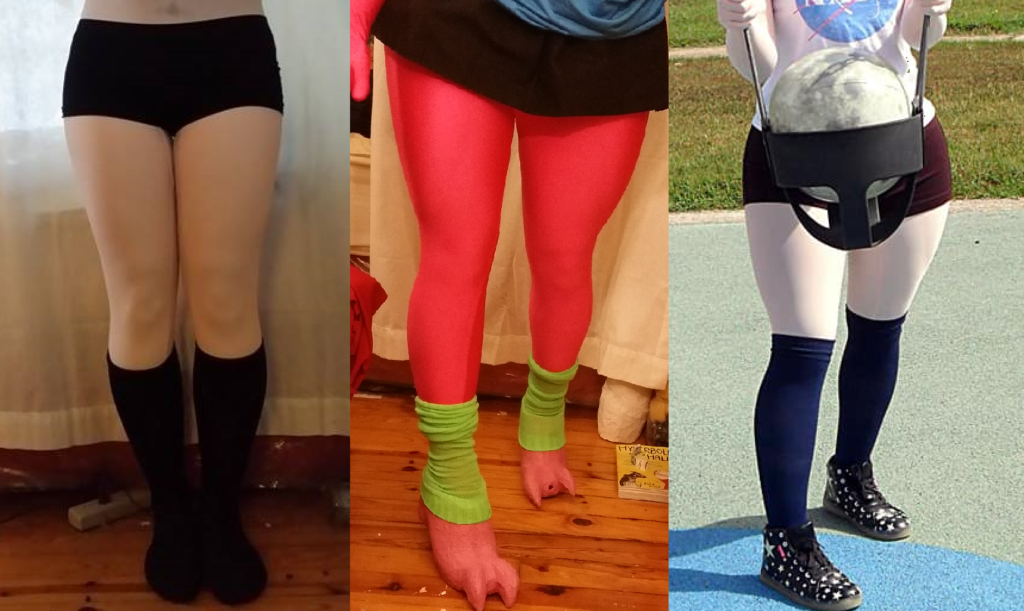
One issue that often comes up with kigurumi cosplay is how unrealistic the anime body types are and what you can do to replicate this. One fairly common and affordable technique is something called compression padding. Compression padding is a method of bodyshaping that relies on layering techniques to build features in a smooth and natural-looking way. It requires sculpted foam shapes that are smoothed out by layers of pantyhose. This brief tutorial will review both the construction and the use of this sort of padding.

Construction
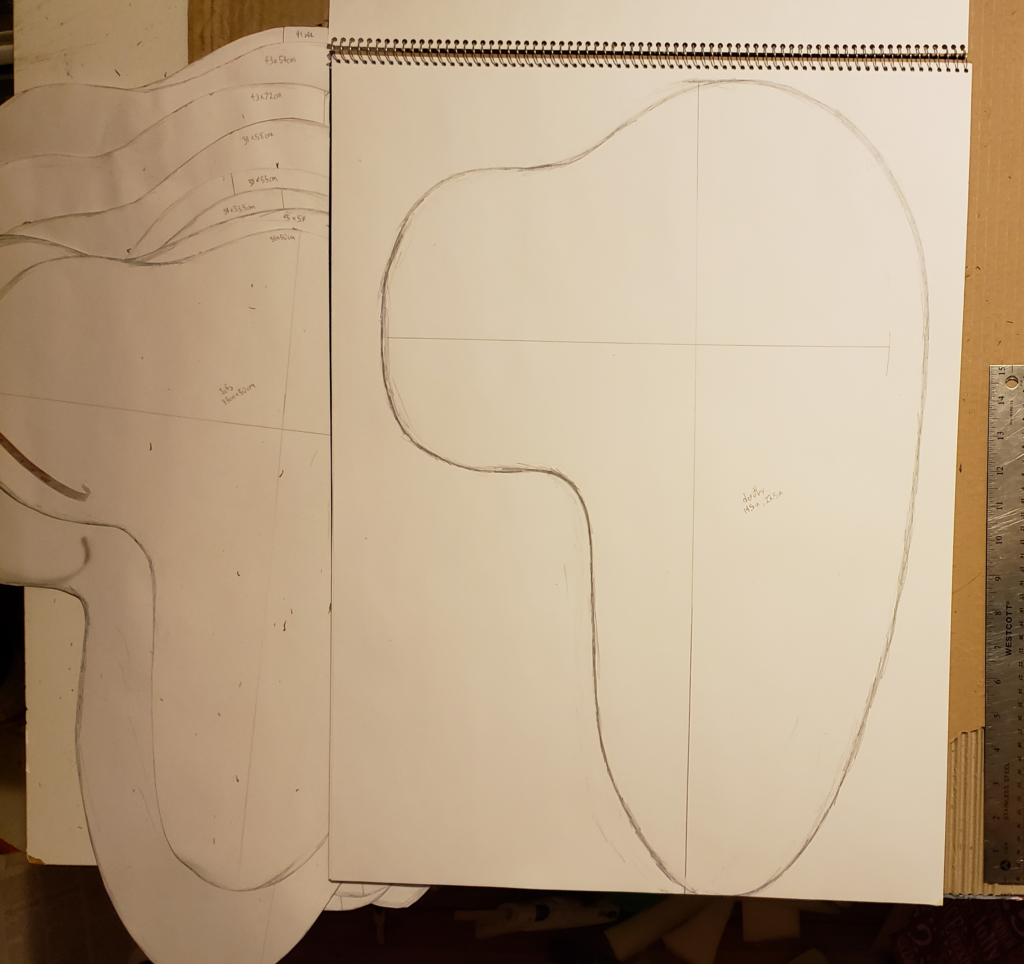
The construction of a set of padding starts with the template. This might seem like an intimidating process, but every template is the same rough shape scaled to your body. The width of the shape is a measurement that wraps all the way around your buttocks, from the anal crease to the front of your leg, the length is from your waist to just above your knee.
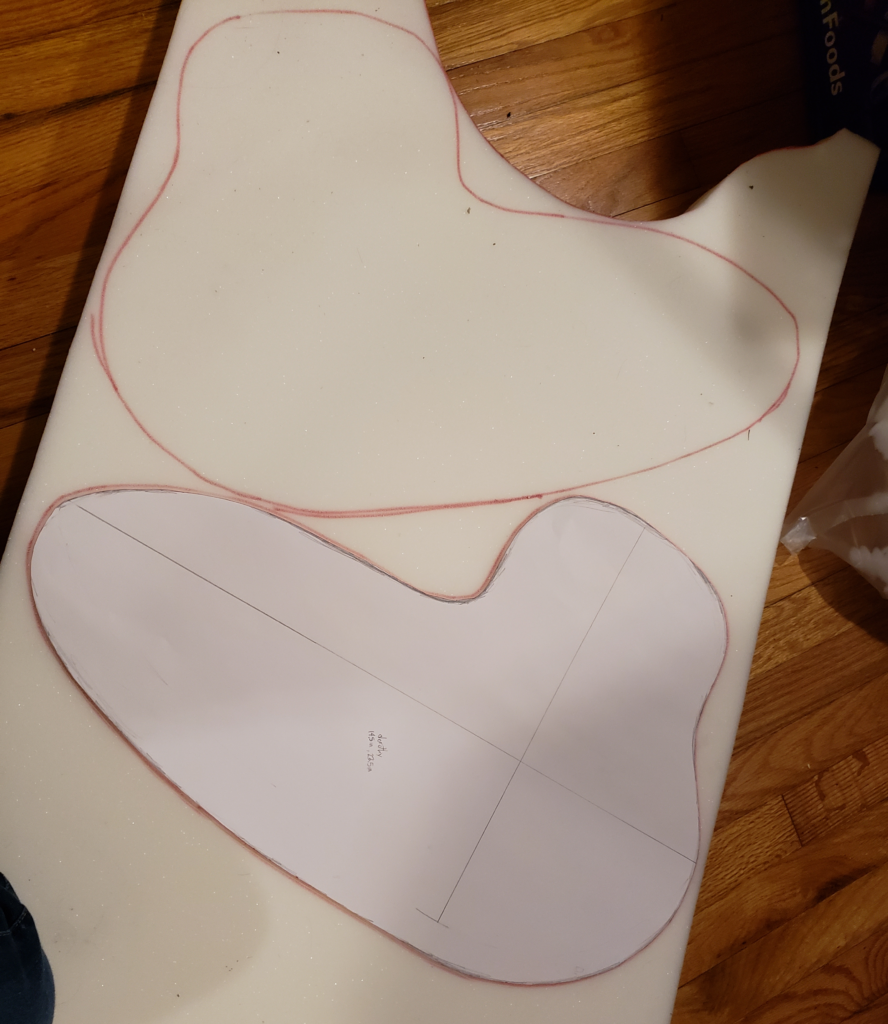
The next step is to transfer the template pattern over to a sheet of upholstry foam. Simply cut out the pattern, trace its outline in marker onto the foam, flip the pattern around, trace it again. Now it’s important to use a relatively high density upholstery foam (somewhere around 1.6 density) so that your foam keeps some volume after compression. It’s also important to remember to flip your pattern over before tracing the second time; the two shapes should be mirrored relative to one-another.
*Small note here. The thickness of the foam sheet you use to make your padding is relevant. 2in thick sheets will be enough to create curves for most body types while 3in-4in thick sheets will be optimal for overstated hips or butt. If you can, try to experiment with multiple thicknesses to find what works best for your body type and the character you’re wanting to portray.
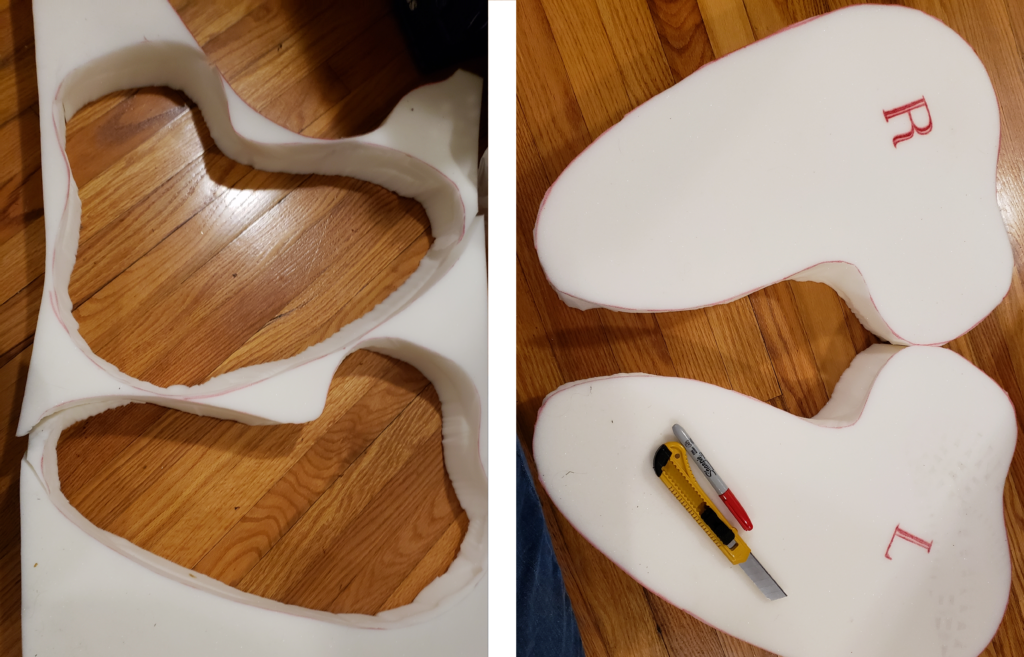
The next step is simply to cut out the two shapes. The cleanest and cheapest way to do this, I’ve found, is by using a box cutter or craft knife. As long as the blade is fresh, it’ll cut through foam really easily. As an optional step, you can label them “left and right” as indicated on the photo. This will help with inserting the pads later on.
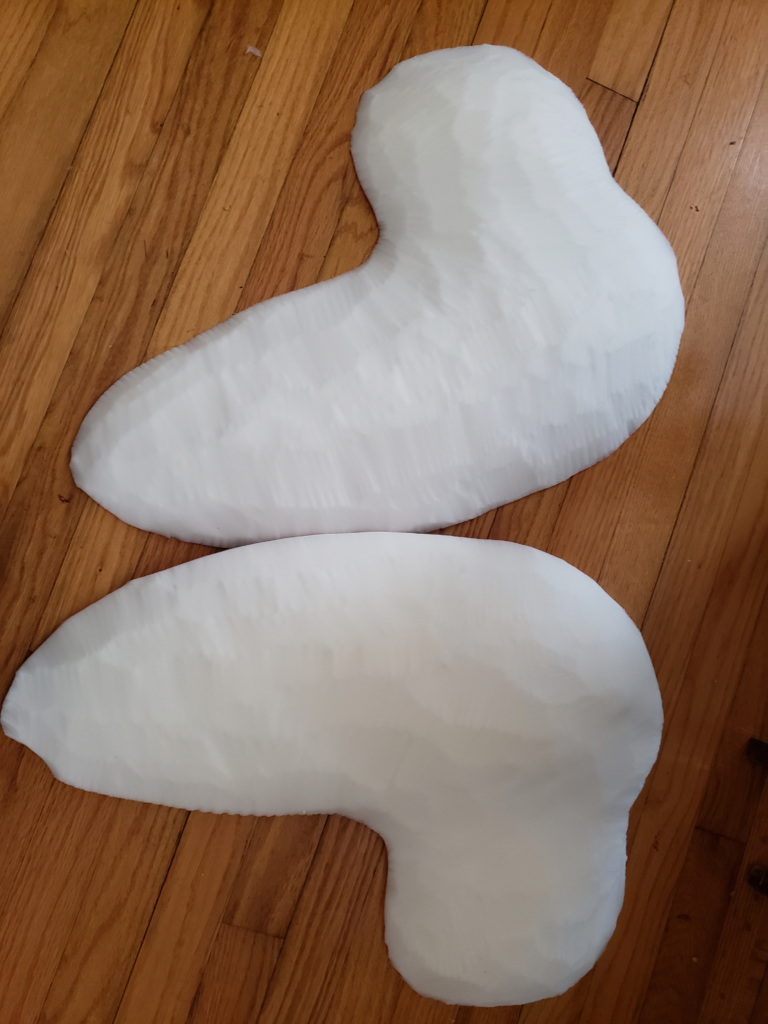
The final step is to smooth the padding out. The level of detail you want to smooth them out is dependent on your own preferences. Generally, you want to make sure the sides are rounded off as a bare minimum. If it looks a bit choppy, bear in mind that the surface texture will be smoothed away during the compression process.
Using Compression Padding
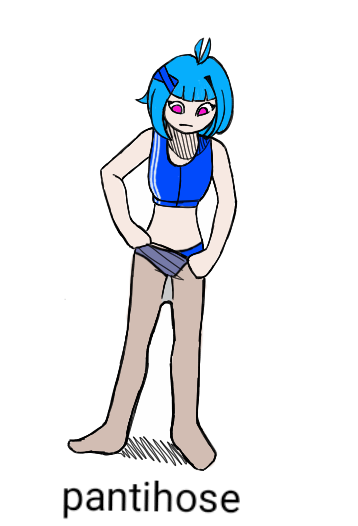
The first step is to put on a pair of pantyhose. I recommend pantyhose over something like tights or leggings because pantyhose are tighter and breathe better. For this first layer, I recommend wearing a size above your actual pantyhose size so that you have room to adjust the padding.
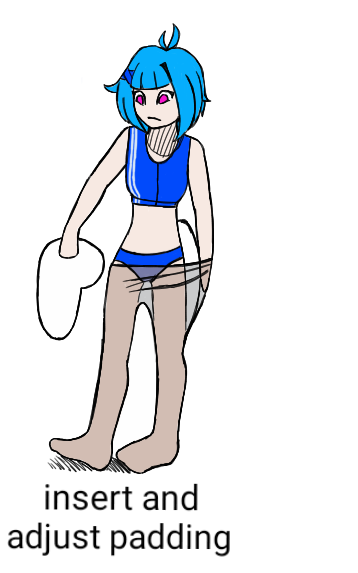
Place the foam padding inside of your pantyhose. It helps to stand infront of a mirror. Insert your pads so that the long part runs along the side of your leg and the extra round part on the side is folded over to your buttocks.
To align your padding, try to ensure that the padding (a) starts at your waist, (b) is straight up and down, and (c) sits over your butt. When you’re finished adjusting your padding, pull the waist band of your pantyhose a up and over the pads.
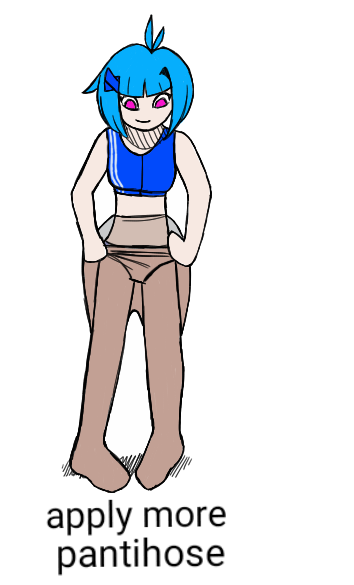
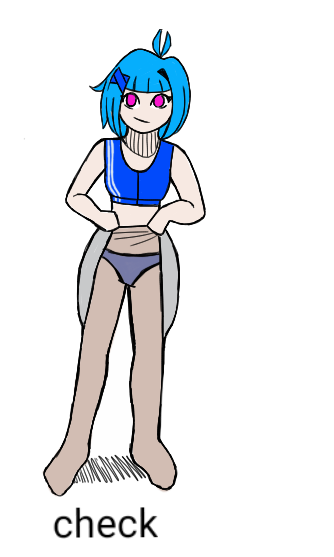
The next step is to put on more pantyhose to compress the padding. It’s advised that these pantyhose, unlike the first pair, are sized for your body. They should be hard to put on overtop the pads, but that resistance is how you know they’re compressing right. The more pantyhose you put on the smoother and more organic your padding will become, but realistically you should only need to apply two more layers.
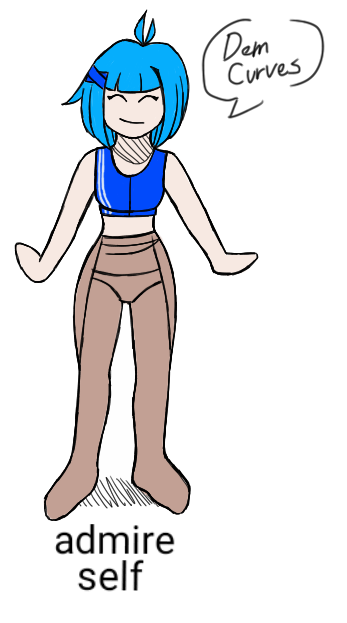
From there you should be good to go! Have fun experimenting with changing your body type. And, as a side benefit, your new butt is literally made of seat cushions so sitting down is pretty darn comfy~